
The Complete ChatGPT Photo Editing Command List: 22 Photo Editing Prompts to Copy by Scenario
Spend enough time editing photos and you notice a pattern: it's not that longer prompts are better, it's that the more specific and clearly structured the instruction, the more stable the result. A lot of people try photo editing prompts in ChatGPT a few times and find the results mediocre — usually not because the model is incapable, but because the instruction didn't clearly state what needed stating: what to preserve, what to change, and to what degree. Miss any one of those three, and the output tends to drift off course.
This post groups 22 ready-to-copy chatgpt code for photo editing entries — what's commonly called chatgpt photo editing prompts — into four scenarios. Each has the full English original, with translation notes on the key entries.
Portrait retouching
The place portrait retouching goes wrong most often is "changing the face" — the features shift out of shape, or over-smoothing turns the skin plastic-looking. The entries below all include identity locking and degree limits.
1. "Retouch this portrait: smooth skin texture naturally, remove blemishes and under-eye shadows, keep pores visible, do not alter facial structure or proportions." — The key phrase is "do not alter facial structure": leave it out and the model has some chance of adjusting the face shape along with everything else.
2. "Whiten teeth slightly and remove stray flyaway hairs, keep everything else unchanged."
3. "Adjust lighting to soft golden-hour side light, keep the subject's pose and expression exactly as is." — This one has been field-tested for old photo restoration too; golden-hour portrait restoration uses exactly this approach — fix the lighting first, then worry about texture.
4. "Fix red-eye and reduce shine on forehead and nose, keep skin tone natural, avoid over-smoothing."
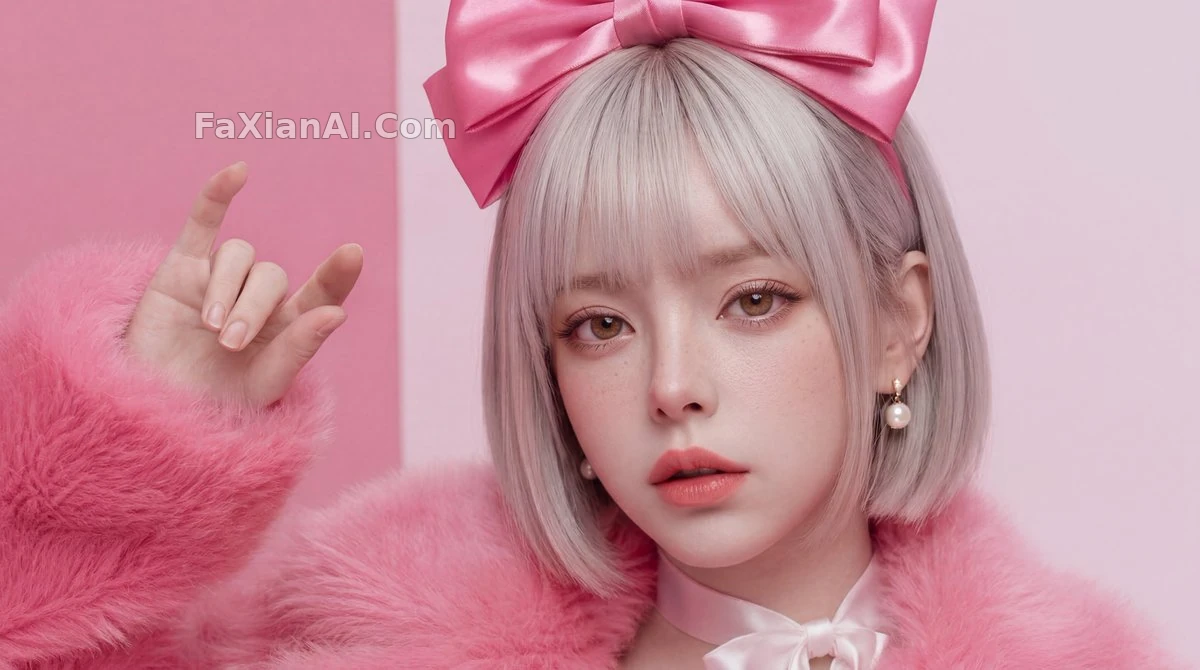
The standard for judging this kind of retouch is simple: zoom in and check whether the pores and hair strands are still there. See the full prompt
Background replacement
A background change prompt for chatgpt falls into two types: swapping to a solid-color backdrop, and swapping to a new scene. The processing logic is completely different, and a separate post covers this in full detail — here are the general-purpose instructions.
5. "Replace the background with a solid light gray studio backdrop, keep the subject's edges clean, no color spill on hair or clothing."
6. "Change the background to a blurred outdoor park scene at dusk, keep the subject's lighting direction consistent with the new background." — Mismatched light direction is the most common giveaway in background replacement; spelling it out saves a lot of redo cycles.
7. "Remove the person on the left side of the frame and fill the background naturally, keep the rest of the composition unchanged." See the negative-space element removal example for reference.
Quality restoration
Restoring old photos and low-resolution images gets a dedicated deep dive in the next post, Photo Sharpening Prompts — here are a few of the most commonly used entries.
8. "Restore this old photo: remove scratches and creases, correct faded colors to natural tones, do not add any new details that weren't in the original." — That last clause matters a lot; it stops the model from "imagining" facial features or textures that never existed.
9. "Upscale this image to sharper detail, reduce noise and grain, keep the original composition and color grading."
10. "Sharpen the edges of the subject only, leave the background soft, simulate a shallow depth of field look." The edge-sharpness retouch example takes exactly this approach — treating subject and background separately, rather than sharpening the whole image uniformly.
Style conversion
11. "Convert this photo into a vintage film photography style, warm tones, slight grain, keep the subject recognizable."
12. "Turn this into a black-and-white editorial photography style, high contrast, keep facial details sharp."
13. "Apply a soft watercolor illustration style to the background only, keep the subject photorealistic." — This half-photorealistic, half-illustrated hybrid treatment gives more depth than converting the whole image to one uniform style; the same idea appears in the split-screen comparison example.
14. "Colorize this black-and-white photo with historically plausible colors, keep skin tones natural, avoid oversaturation."
15. "Simulate a polaroid photo effect: slight blur at edges, warm white border, soft light leak in one corner." Polaroid style gets its own dedicated post with more variations, Photo Frame and Polaroid Prompts.
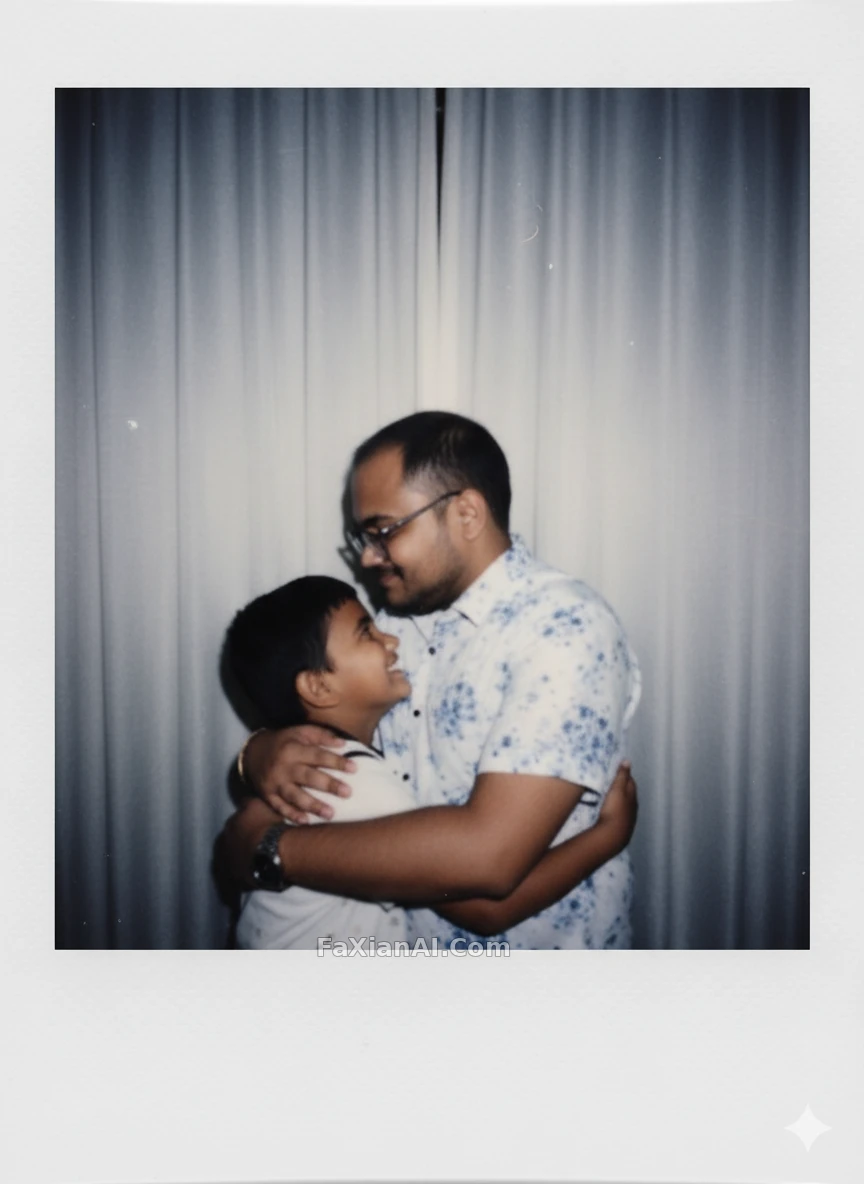
16. "Change only the outfit color to deep red, keep the pose, background, and lighting exactly the same." For localized-swap instructions, remember the pattern "change only this one thing, lock everything else" — it drastically cuts down on unintended changes.
Combined edits and batch processing
17. "Apply the same edit (background removed, color-corrected) to all four photos, keep each subject's individual pose." — In batch processing, explicitly stating "same logic, but each subject stays independent" prevents the model from blending the four photos into one.
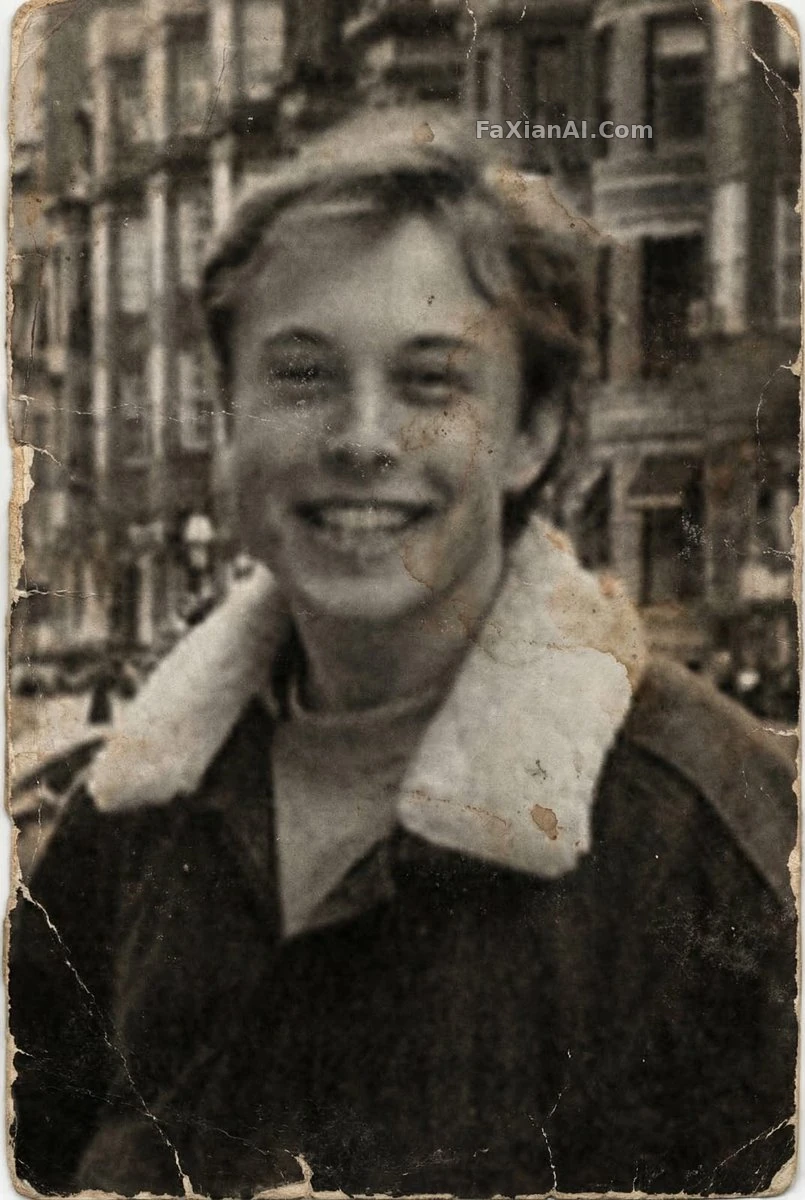
Nail down the single-image restoration standard before running a batch. See the full prompt
18. "Generate a 2x2 grid of this portrait with four different lighting setups: front light, side light, back light, and soft window light." A four-panel comparison grid is the easiest way to test lighting setups — no need to try them one at a time.
19. "Combine these two photos: keep the person from photo one, place them into the background of photo two, match the lighting."
20. "Create a side-by-side comparison of the original and the edited version, labeled 'before' and 'after'."
21. "Remove the object in the bottom right corner completely, reconstruct the background as if it was never there."
22. "Apply subtle color grading to match a specific mood: teal shadows, warm highlights, keep skin tones true to life." The difference between color grading and a filter is that grading only adjusts the color curves without touching texture or sharpness — this makes a noticeably bigger difference to the finished look than slapping on a filter.
Three things to nail down before using any of this
Looking back at all these entries, there's a common thread: the ones that work well are all doing the same thing — clearly stating three layers: what to change, what not to change, and to what degree. This site's other post, the universal prompt formula, breaks this structure down in more detail — the underlying principle is the same.
Worth noting too: none of these instructions are exclusive to ChatGPT. They work just as well on image models like Nano Banana, since the underlying logic is the same "understand the instruction, edit locally" approach — most of the example images on this site were run with prompts structured the same way. To see the effect directly, browse the full examples in the portrait retouching or e-commerce product categories, or try it directly from the generation entry point on the homepage.
If negative prompts still feel thin, the other post, the negative prompt guide, covers exactly how to write "what not to include" — it complements this one, and they're worth reading together.
One thing from experience on the design side: when a client says "the retouch isn't right," eight times out of ten it's not an aesthetic disagreement — it's that the requirement itself never spelled out "what to preserve." This checklist is essentially a template for filling in that missing layer of information — applying it is faster than redoing the work after the fact.