
Photo Clarity Prompts: 10 photo clear prompt for chatgpt Ideas, Sorted by Parameter Level
Categorize first. Blur comes in three kinds: motion blur, out-of-focus blur, and low-resolution compression blur. Noise comes in two kinds: high-ISO noise, and old-photo film grain noise. Three kinds of blur, two kinds of noise, and the fix logic is different for each — the instructions need to differ too. Mix them together in one prompt and the model doesn't know which direction to fix toward.
Whether you're searching for photo clear prompt for chatgpt or the broader enhance photo quality prompt, this tiering logic addresses the same underlying issue either way: the model doesn't know which kind of blur or which kind of noise you're trying to fix, and if you don't spell out the severity parameter, the output is left entirely to chance.
Below are three tiers, from light to heavy.
Light: detail enhancement, no structural repair
The original image itself isn't broken, it's just not sharp enough. The focus of this tier's instructions is "add detail only, don't touch the structure."
1. "Enhance photo quality: increase micro-detail sharpness by a moderate amount, keep noise level unchanged, do not alter colors." — the key word is *moderate*; without a qualifier like this, the model tends to over-sharpen and edges start showing jagged artifacts.
2. "Upscale resolution to approximately 2x, preserve original color grading exactly, no new detail hallucination." — the word *hallucination* matters a lot here; skip this line and the model has a real chance of "inventing" texture that wasn't in the original during the upscaling process.
3. "Sharpen edges only on the main subject, leave background blur untouched, simulate f/2.8 depth-of-field separation." — writing the aperture value directly into the instruction is far more precise than a vague "blur the background a bit."

Subject and background are two separate parameter sets — don't mix them into one instruction. See the full prompt
Medium: denoise plus sharpen combo, for standard noise
Phone night shots, WeChat-compressed images — noise and blur are layered on top of each other in this kind of photo, and sharpening alone will amplify the noise right along with it.
4. "Reduce ISO-style noise first, then apply moderate sharpening only after denoising, keep skin tones natural." — the order can't be reversed; sharpening before denoising just smooths away the sharpened edge detail along with the noise.
5. "Remove JPEG compression artifacts around edges, restore smooth gradients in sky and skin areas, keep overall exposure unchanged." — images forwarded multiple times through WeChat are basically all riddled with this kind of compression noise; this instruction is aimed specifically at that.
6. "Denoise this low-light photo, target a clean but not plastic-looking skin texture, retain visible pore detail." — the qualifier "not plastic-looking" is genuinely useful; skip it and even a moderate denoising strength tends to smooth the skin into something artificial-looking.
7. "Upscale to 4K resolution, apply noise reduction proportional to the upscale ratio, keep grain texture if the original is film photography." — a concrete number like 4K works far better than a vague "make it clearer."
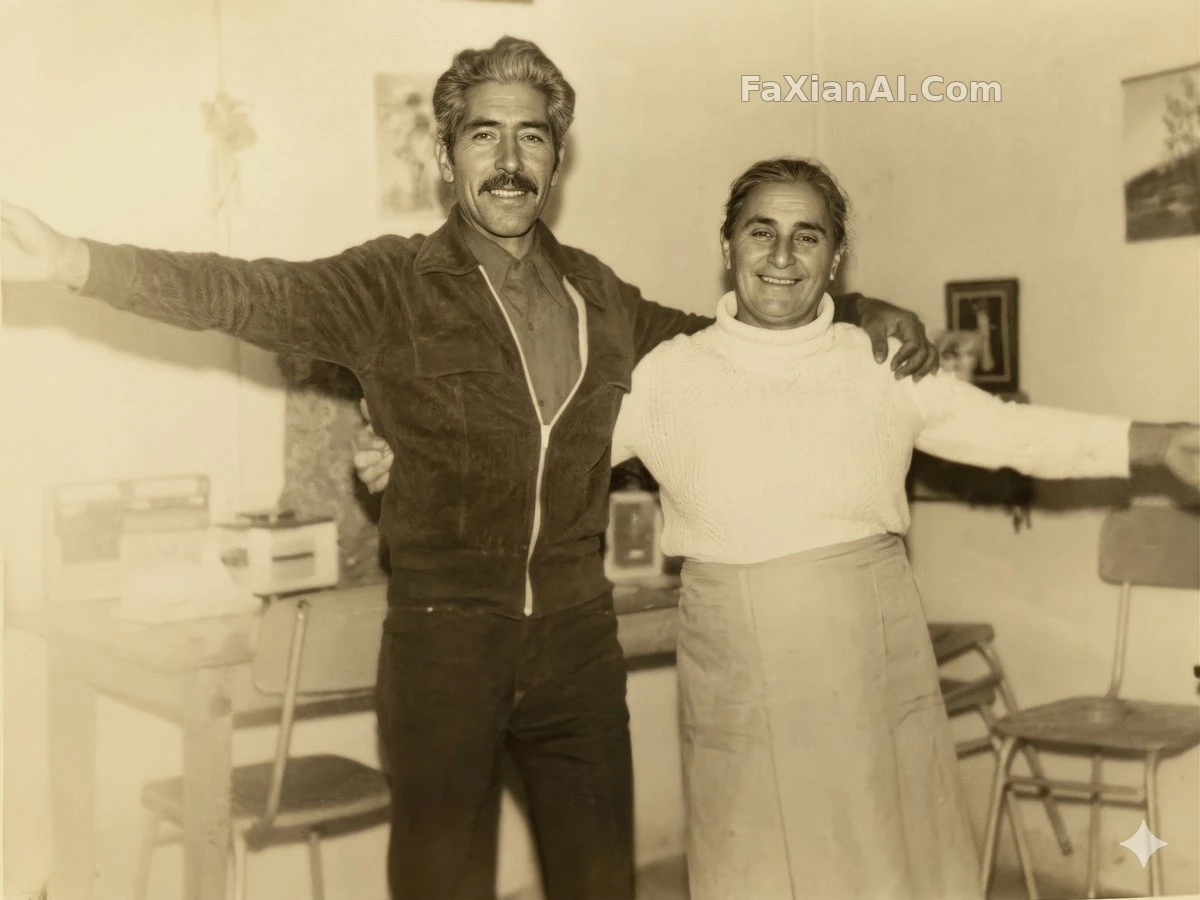
The grain here was deliberately kept, not left over from an incomplete job. See the full prompt
Heavy: structural repair for old or damaged photos
This tier deals with scratches, creases, and severe fading — structural repair, not simple sharpening and denoising.
8. "Restore this damaged old photo: repair scratches, tears, and creases, correct faded colors to plausible original tones, upscale to DSLR-equivalent resolution." — the phrase "DSLR-equivalent" is more concrete than "very clear" — the model is being pointed at a specific quality standard rather than an abstract adjective.
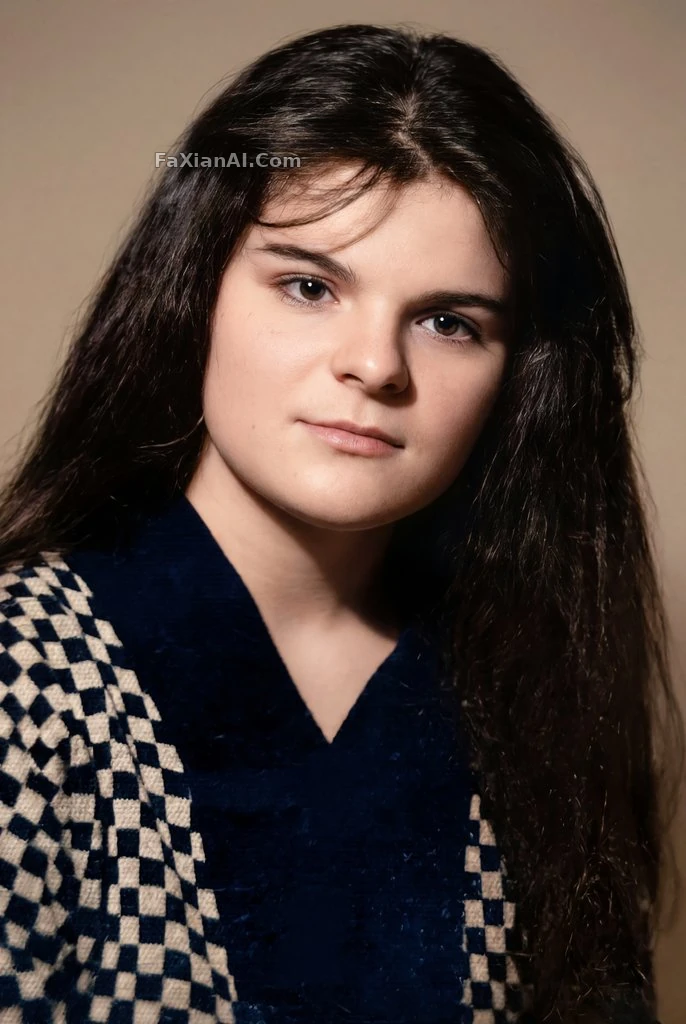
Repair the scratches and creases first, then worry about color correction. See the full prompt
9. "Colorize and clarify this old black-and-white photo, reconstruct facial detail conservatively, do not invent details not implied by the original grayscale values." — the phrase "conservatively reconstruct" is a safety valve against the model over-improvising; the worst-case scenario in old photo restoration is a face that ends up not looking like the actual person.
10. "Full restoration pass: denoise, descratch, colorize, and sharpen in that order, output at 100 percent original aspect ratio with no cropping." — writing the order directly into the instruction is far steadier than letting the model decide the processing order itself. See Reaching Hidden-Gem-Level Clarity for a full-pipeline case.
Parameter quick reference
- Light blur: sharpen only, don't denoise, use the word "moderate"
- Medium noise: denoise then sharpen, order matters
- Heavy damage: denoise → descratch → colorize → sharpen, in that fixed order
- Every tier benefits from adding "do not invent new details" — a general safeguard against the model hallucinating detail
- Change one variable at a time and compare results — that finds the problem faster than stacking five or six parameters in one go
This tiering logic follows the same principle as "put parameter-layer items last" from the site's prompt formula piece — keep the content layer and the technical layer separate, don't mix them. If the same batch of photos also needs a background swap, the recommended order is to sharpen first, then swap the background — see the background-swap prompt guide; doing it the other way around tends to composite the noise straight into the new background.
These parameter logics hold up just as well on Nano Banana — the same underlying image-model capability is at work either way. For more restoration cases, check the photo editing category, or go straight to the generation entry point on the homepage and run through the instructions above yourself.