
ChatGPT 修圖指令大全:22 條 photo editing prompts 按場景複製即用
修圖這行幹久了會發現一個規律:不是提示詞越長越好,是指令越具體、結構越清楚,出圖越穩。很多人在 ChatGPT 裡試了幾次 photo editing prompts 覺得效果一般,往往不是模型不行,是指令裡該說清楚的東西沒說清楚——保留什麼、改動什麼、改到什麼程度,這三件事漏一個,出來的圖就容易跑偏。
這篇按四個場景分組,整理 22 條能直接抄的 chatgpt code for photo editing,也就是常說的 chatgpt photo editing prompts,每條給完整英文原文,重點條目附中文譯寫和使用備註。
人像精修類
人像修圖最容易翻車的地方是"改臉"——五官改走樣,或者磨皮磨成塑膠臉。以下幾條都加了身份鎖定和程度限制。
1. "Retouch this portrait: smooth skin texture naturally, remove blemishes and under-eye shadows, keep pores visible, do not alter facial structure or proportions."(精修這張人像:自然平滑膚質,去除瑕疵和黑眼圈,保留毛孔質感,不改變五官結構和比例)—— 關鍵是"do not alter facial structure"這句,少了它模型有機率把臉型也一起調了。
2. "Whiten teeth slightly and remove stray flyaway hairs, keep everything else unchanged."(輕微美白牙齒,去除碎髮,其餘不變)
3. "Adjust lighting to soft golden-hour side light, keep the subject's pose and expression exactly as is."(把光線調成柔和的黃金時刻側光,主體姿勢表情完全不動)—— 這條實測對老照片修復也好用,像黃金時段光的人像修復就是這個思路,先修光再談質感。
4. "Fix red-eye and reduce shine on forehead and nose, keep skin tone natural, avoid over-smoothing."(修紅眼,減少額頭鼻樑的反光,膚色保持自然,避免過度磨皮)
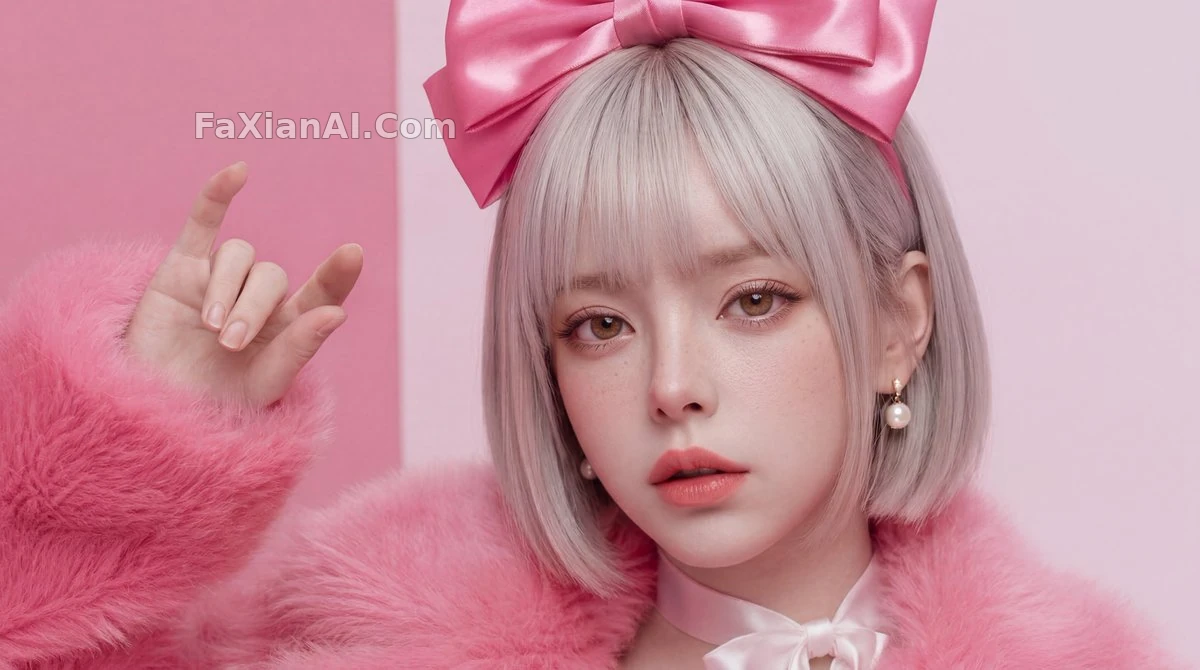
這類精修圖的判斷標準很簡單:放大看毛孔和髮絲還在不在。檢視完整提示詞
背景替換類
background change prompt for chatgpt 這類需求分兩種:換純色底和換場景,處理邏輯完全不同,後面單獨有一篇講透,這裡先給通用指令。
5. "Replace the background with a solid light gray studio backdrop, keep the subject's edges clean, no color spill on hair or clothing."(替換成純淺灰影棚背景,主體邊緣乾淨,髮絲和衣物不沾染背景色)
6. "Change the background to a blurred outdoor park scene at dusk, keep the subject's lighting direction consistent with the new background."(換成黃昏公園的虛化背景,主體的光線方向要和新背景一致)—— 光線方向不匹配是背景替換最常見的穿幫點,寫清楚能省很多次返工。
7. "Remove the person on the left side of the frame and fill the background naturally, keep the rest of the composition unchanged."(去掉畫面左側的人物,自然填補背景,其餘構圖不變)參考畫面留白的元素移除案例。
畫質修復類
老照片和低解析度圖的修復,下一篇《照片變清晰提示詞》會專門展開,這裡給幾條最常用的。
8. "Restore this old photo: remove scratches and creases, correct faded colors to natural tones, do not add any new details that weren't in the original."(修復老照片:去劃痕摺痕,校正褪色,不新增原圖沒有的細節)—— 最後半句很重要,防止模型"腦補"出並不存在的五官或紋理。
9. "Upscale this image to sharper detail, reduce noise and grain, keep the original composition and color grading."(提升清晰度,降噪,保持原構圖和調色)
10. "Sharpen the edges of the subject only, leave the background soft, simulate a shallow depth of field look."(只銳化主體邊緣,背景保持柔和,模擬淺景深效果)像邊緣銳度調準的精修案例就是這個思路,主體和背景分開處理,而不是整張圖一起拉銳度。
風格轉換類
11. "Convert this photo into a vintage film photography style, warm tones, slight grain, keep the subject recognizable."(轉成復古膠片風格,暖色調帶輕微顆粒,主體保持可辨識)
12. "Turn this into a black-and-white editorial photography style, high contrast, keep facial details sharp."(轉黑白紀實攝影風格,高對比,面部細節保持清晰)
13. "Apply a soft watercolor illustration style to the background only, keep the subject photorealistic."(只對背景應用水彩插畫風格,主體保持寫實)—— 半寫實半插畫的混合處理,比整張圖統一轉風格更有層次感,這個思路在分屏對比案例裡也用到了。
14. "Colorize this black-and-white photo with historically plausible colors, keep skin tones natural, avoid oversaturation."(給黑白照片上色,選擇符合年代的色彩,膚色自然,不過飽和)
15. "Simulate a polaroid photo effect: slight blur at edges, warm white border, soft light leak in one corner."(模擬拍立得效果:邊緣輕微模糊,暖白色相框,一角帶柔光漏光)拍立得風格單獨有一篇《相框與拍立得提示詞》展開更多變體。
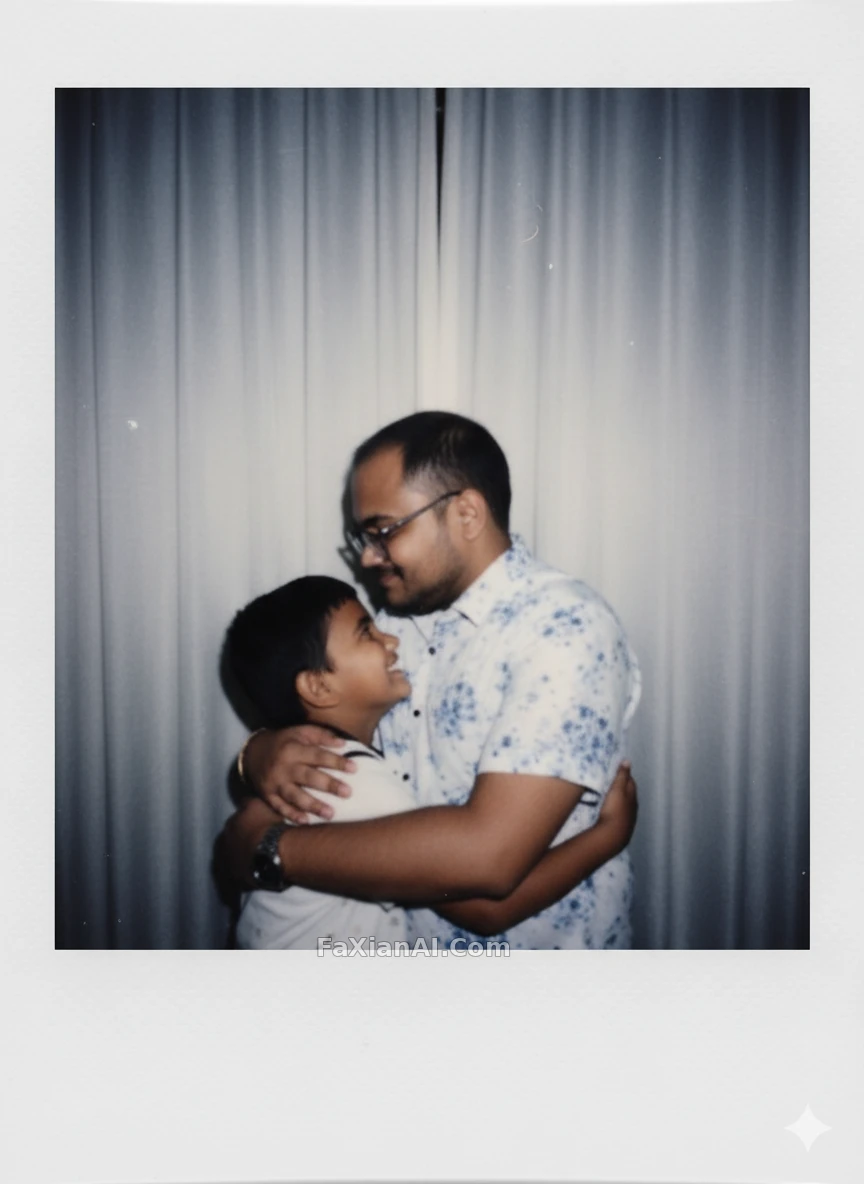
16. "Change only the outfit color to deep red, keep the pose, background, and lighting exactly the same."(只把服裝顏色換成深紅,姿勢背景光線完全不變)區域性替換類指令記住"只改一處,其餘鎖定"這個句式,能大幅減少意外改動。
組合與批處理類
17. "Apply the same edit (background removed, color-corrected) to all four photos, keep each subject's individual pose."(同一套修圖邏輯應用到四張圖上,每張保持各自姿勢)—— 批次處理時明確"邏輯一致但內容各自獨立",避免模型把四張圖混成一張。
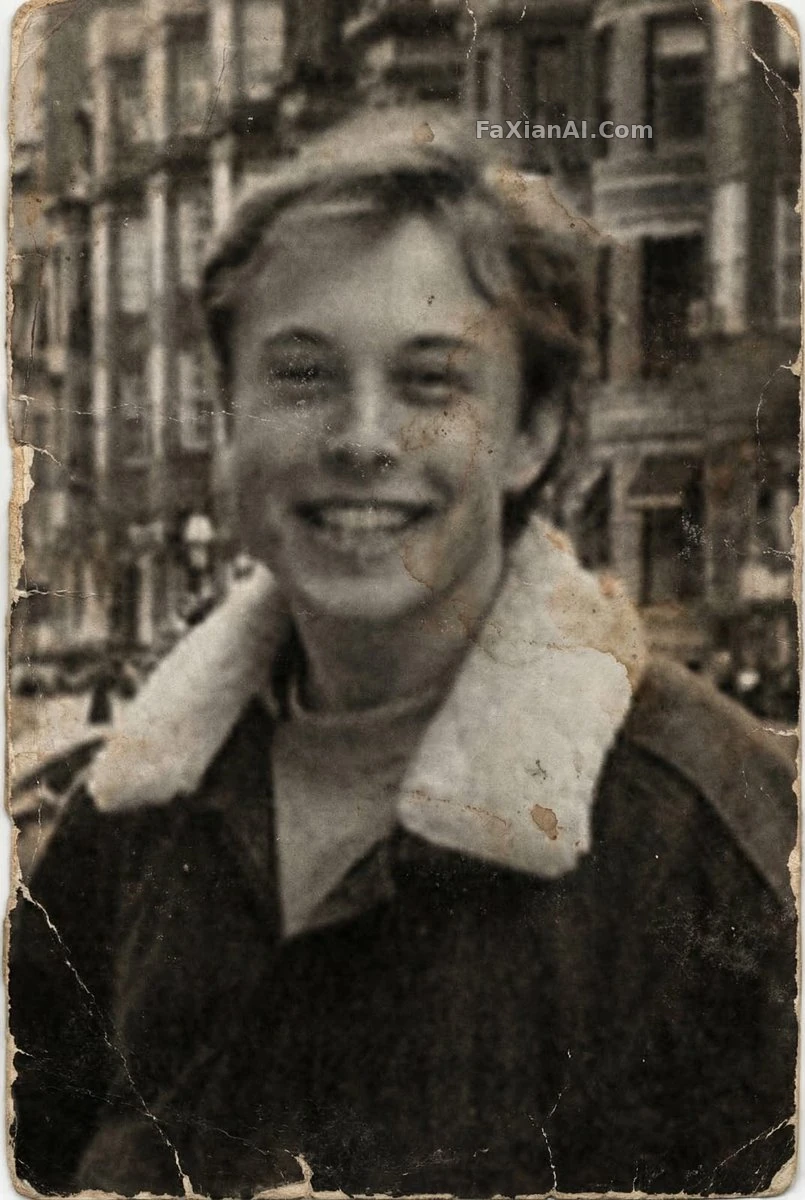
批次處理前先確定單張的修復標準。檢視完整提示詞
18. "Generate a 2x2 grid of this portrait with four different lighting setups: front light, side light, back light, and soft window light."(生成同一人像四種打光方案的四宮格:順光、側光、逆光、柔光窗光)四宮格對比是測試打光方案最省事的辦法,不用一張張單獨試。
19. "Combine these two photos: keep the person from photo one, place them into the background of photo two, match the lighting."(合成這兩張圖:保留第一張的人物,放入第二張的背景,匹配光線)
20. "Create a side-by-side comparison of the original and the edited version, labeled 'before' and 'after'."(生成原圖和修圖後的左右對比圖,標註前後)
21. "Remove the object in the bottom right corner completely, reconstruct the background as if it was never there."(完全去除右下角的物體,重建背景彷彿它從未出現過)
22. "Apply subtle color grading to match a specific mood: teal shadows, warm highlights, keep skin tones true to life."(應用青橙色調分級:陰影偏青、高光偏暖,膚色保持真實)色調分級和濾鏡的區別在於它只調色彩曲線,不改變紋理和銳度,這條對成片質感的提升比套濾鏡明顯。
用之前先想清楚三件事
寫了這麼多條,回頭看一個共同點:好用的指令都在做同一件事——把"改什麼、不改什麼、改到什麼程度"這三層說清楚。這個結構本站另一篇提示詞萬能公式拆得更細,原理相通。
另外提一句,這些指令不是 ChatGPT 專屬的,用在 Nano Banana 這類影象模型上同樣適用,畢竟底層都是"理解指令+區域性編輯"這套邏輯,站內大部分素材圖也是用類似結構的提示詞跑出來的。想直接體驗效果,可以去人像精修分類或電商產品分類翻看對應的完整案例,也可以從首頁的生成入口直接試。
負面提示詞沒寫夠的話,另一篇反向提示詞指南專門講怎麼寫"不要什麼",跟這篇是互補關係,建議一起看。
順帶說一句設計部這邊的經驗:甲方反饋"修圖效果不對",十次裡八次不是審美分歧,是需求本身沒說清楚"保留什麼"。這份清單本質上是把這層資訊補全的模板,套用比現改快。