
Making Image Series With Images 2.6: References, Markup, and Changing Just One Thing
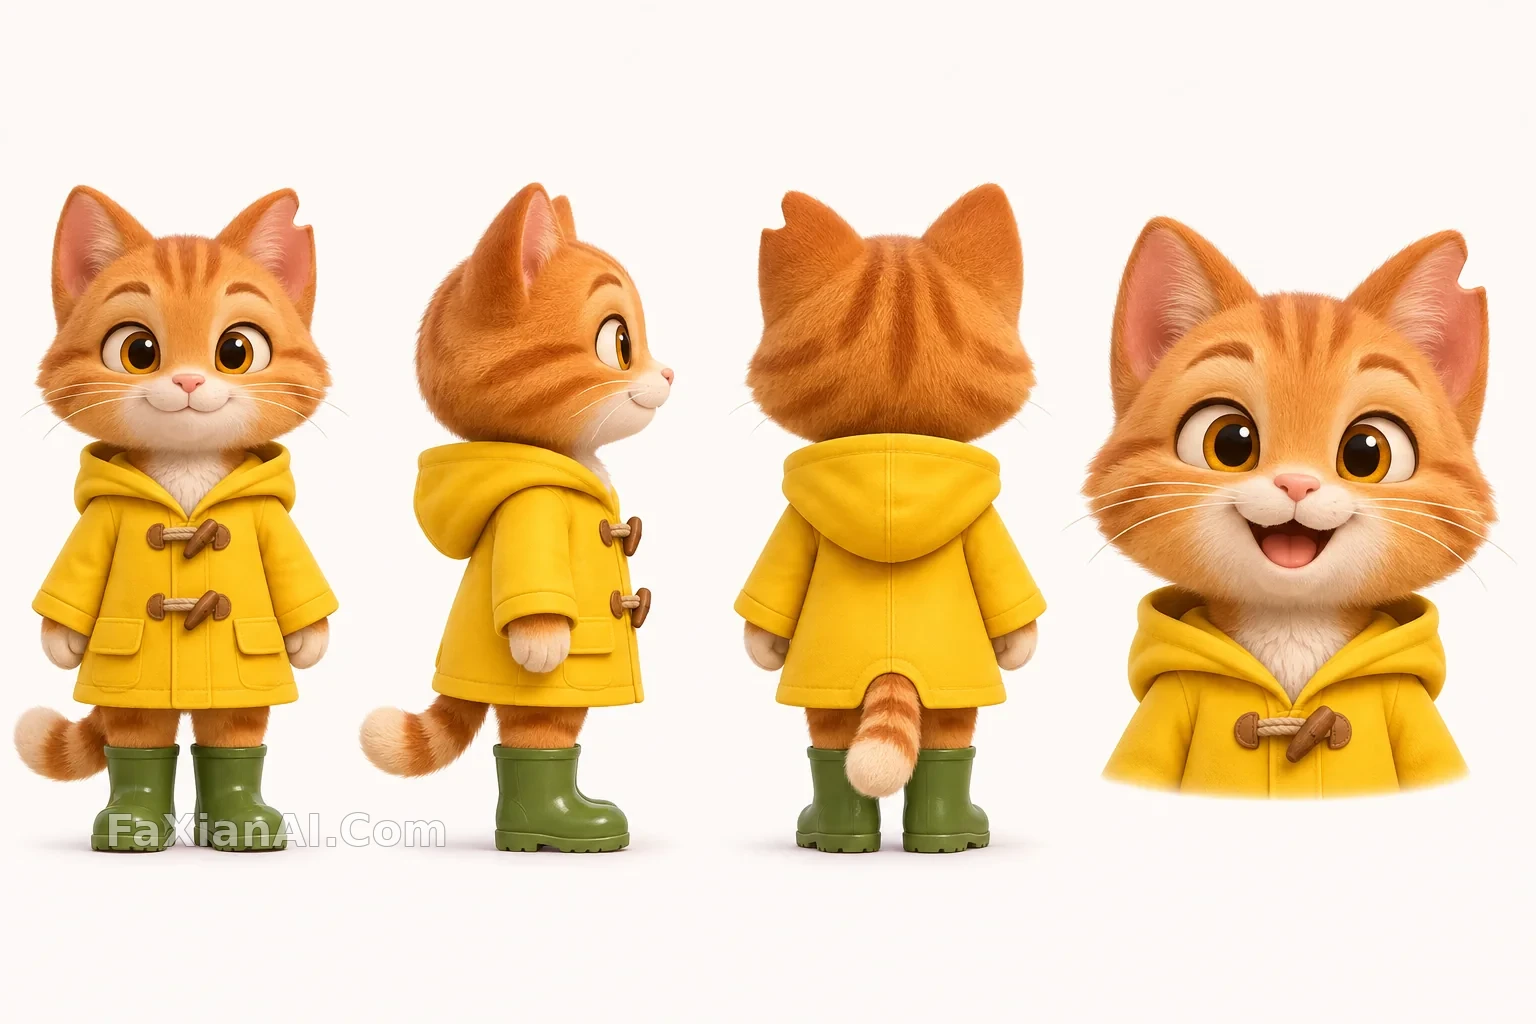
It’s not hard to make one image look good. The hard part is making sure the tenth image still shows the same cat. ChatGPT Images 2.6 lets you save characters as references and reuse them, and its announcement highlights consistency across multiple rounds of editing. But if you want reliable results, you still need to do the prep work yourself.
Keep the Base Image Simple and Give It a Distinctive Mark
The ceramic mug’s base image is shot plainly: a cream countertop, even lighting, and the entire mug in frame. That makes it easier for the model to see exactly what the mug looks like.
The key detail is the thumbprint indentation. Put an ordinary mug in a different setting and it can be hard to tell whether it’s still the same one; give it a distinctive mark and you can check at a glance. The same goes for characters: the yellow raincoat cat’s character sheet gives it a notch in its left ear.
Include every angle you’ll need later in the character sheet. The rainy train scene shows the cat from the side, and its proportions stay consistent partly because the character sheet already includes a side view.
Specify What Must Stay the Same
Start every scene-change prompt with the same instruction:
> Keep exactly the same mug as in the reference image: the same oatmeal-colored speckled glaze, unglazed clay rim, ear-shaped handle, and thumbprint indentation on the front.
Then describe the scene. Supplying both the reference image and the written description may seem repetitive, but the list also doubles as a checklist for reviewing the result. We used it to check both the picnic blanket and late-night desk lamp images.
When you want variety, change the lighting and colors of the surroundings first, and leave the design alone as much as possible. The snowy letter-posting scene uses a blue-hour evening to set off the yellow raincoat.
You can put this checklist to work right away. GPT Image 2.6 on PixPix lets you add a reference image and then change the background, colors or small details. Run one of your own product shots through it, check the result against the fixed details above, and you'll see which features tend to slip.
Markup: Pointing Is Easier Than Describing a Location
A phrase like “the striped vase just right of center” is easy to misinterpret. With markup, you can simply draw a circle on the image:
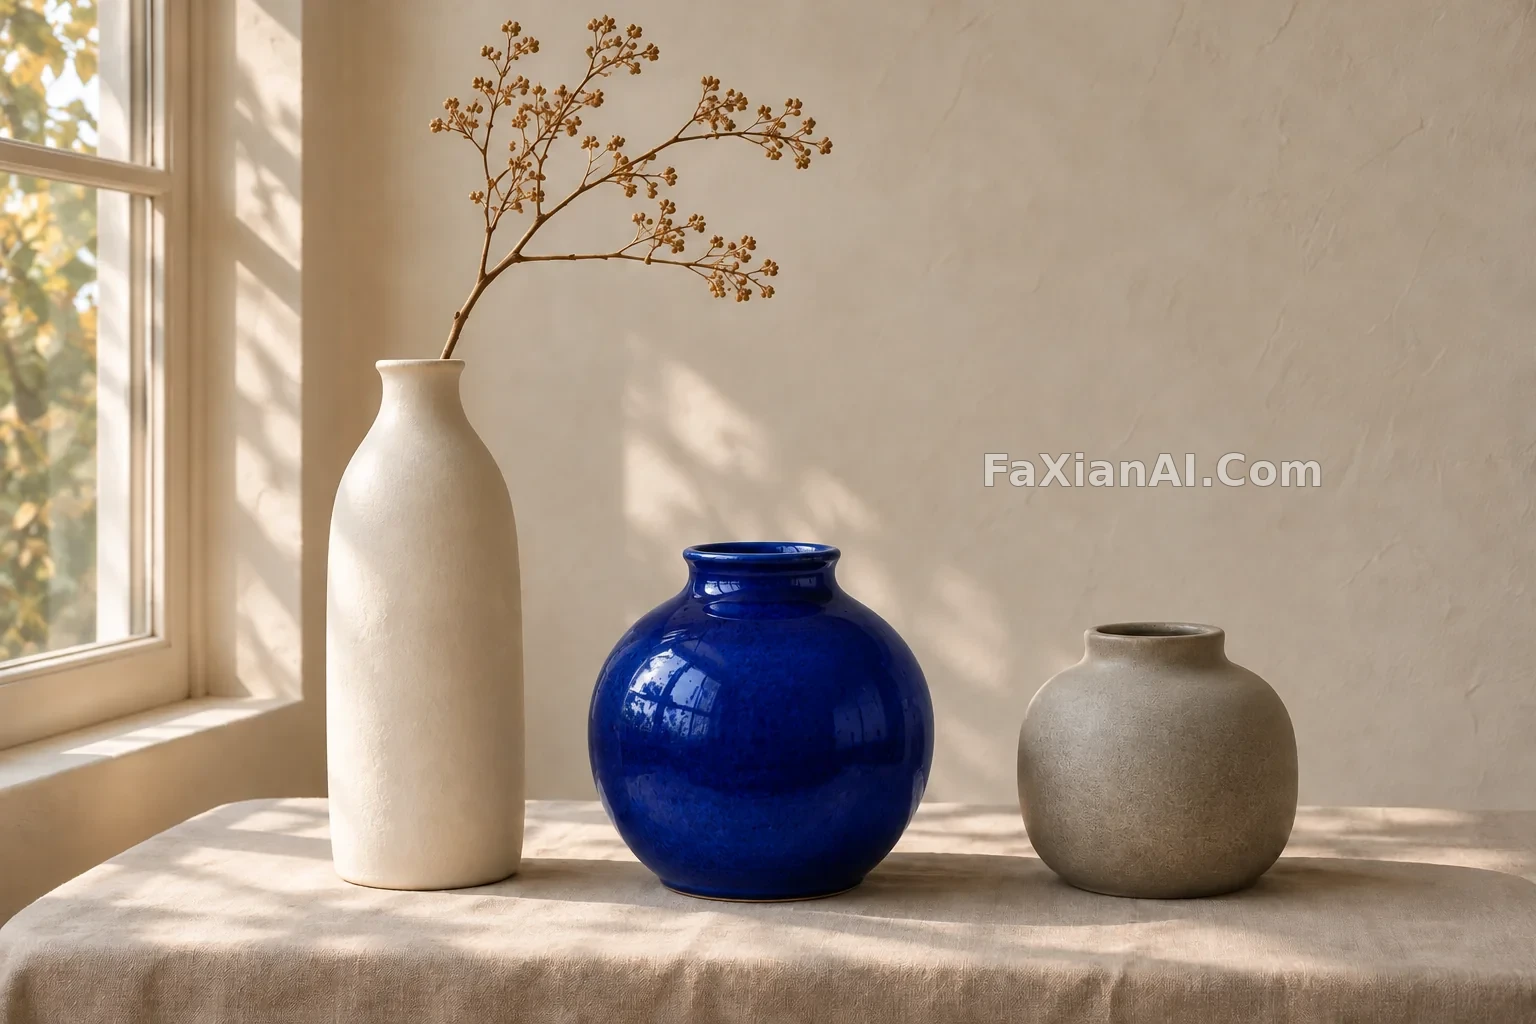
You can draw directly on the image in ChatGPT. In the API, use the `markup` parameter on the edit endpoint and provide a transparent PNG with the same dimensions as the original. Don’t merge the markup with the original image, and don’t pass `mask` at the same time. This vase example takes a simpler approach: draw a red circle on the image as a reference, then ask the model to remove it. The result is worth a look, but it doesn’t demonstrate the official `markup` parameter.
Make Small Changes One Step at a Time
Change only one thing at a time. The poster date edit is a good example: the prompt specifies the old and new text, then says to leave everything else unchanged. API users can also set `complexity` to low to reduce unnecessary changes.
Compare the result after editing, and don’t just look at the part you changed. Text can quietly change, and textures can drift too. Here’s a checklist of common issues:
| Check | What to look for |
| --- | --- |
| Distinctive marks | Are the notch and indentation still there? Is the button count unchanged? |
| Text | Did any text you didn’t ask to change get altered? |
| Lighting | Do the shadows match the direction of the new light source? |
| Proportions | Are the character and props the right size relative to each other? |
Take Care With Other People’s Photos
Reference images can include photos of real people, which makes permission and likeness rights especially important. All the examples in this collection use original characters and fictional products, with no real faces or existing IP.
For a related older tutorial, the techniques in Character Consistency still apply. You can also read What’s New in Images 2.6.