
Handmade Texture Prompts: Paper Thickness, Dye Edges and Tool Marks
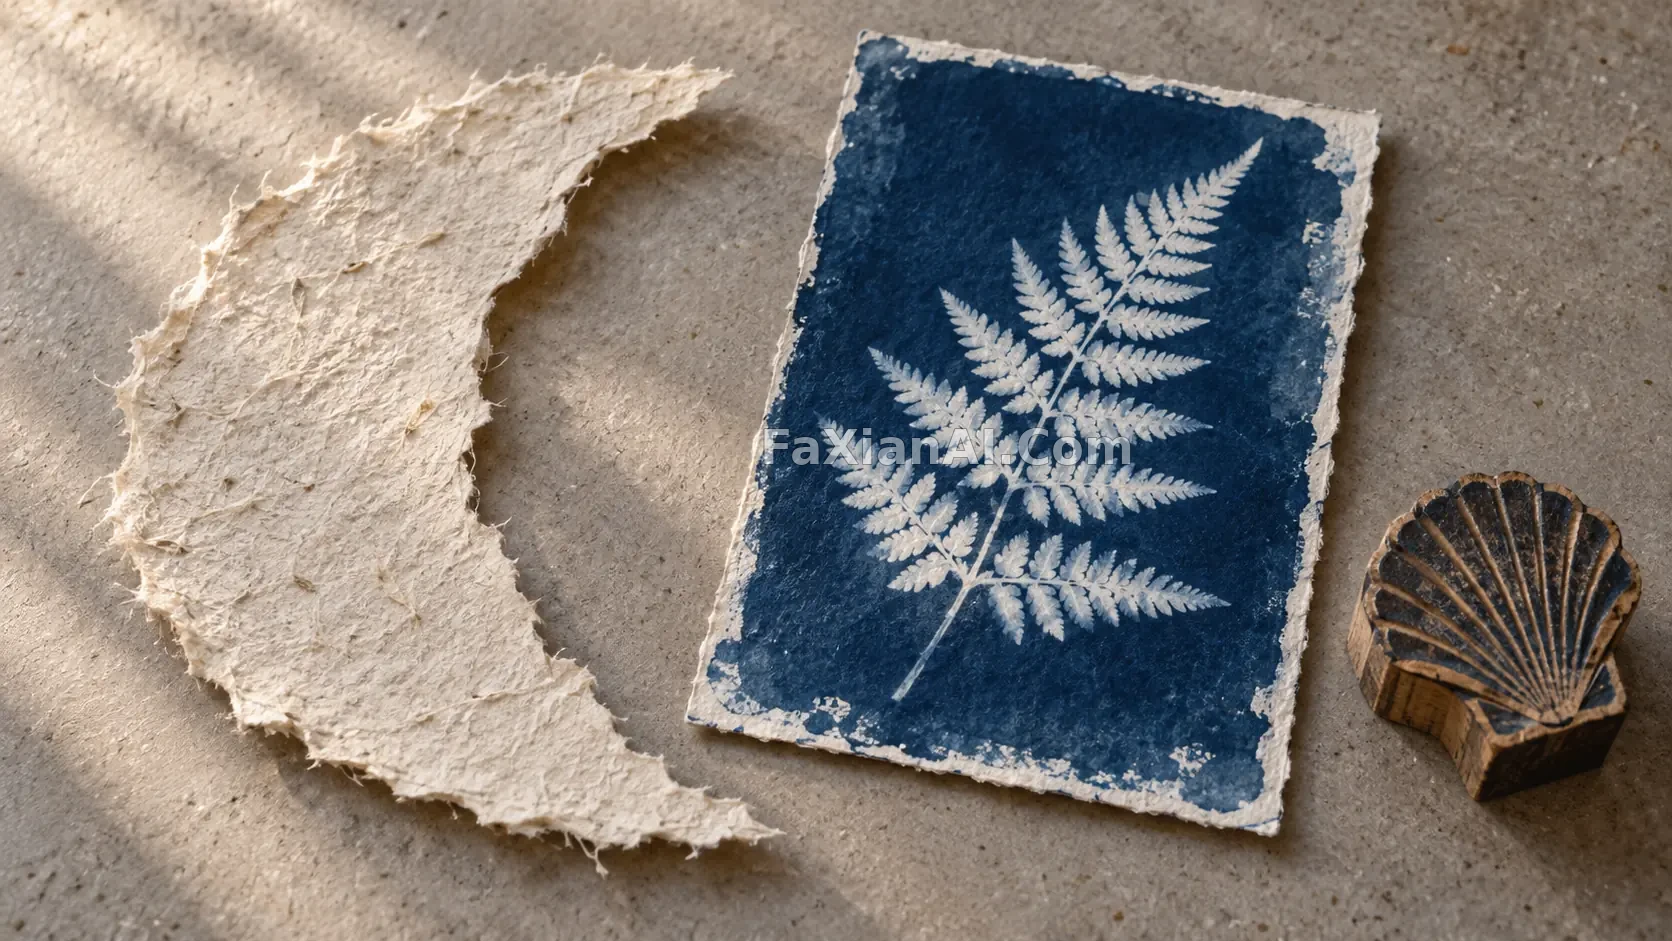
A handmade style is more than a noise overlay. Interlayer paper shadows, cyanotype chemical edges and carved wood grooves belong to different processes; combining them indiscriminately weakens material identity. Specify the making process first, then choose a few marks that support it. This approach suits illustration, packaging inspiration and craft displays.
Paper relief: read thickness through overlap
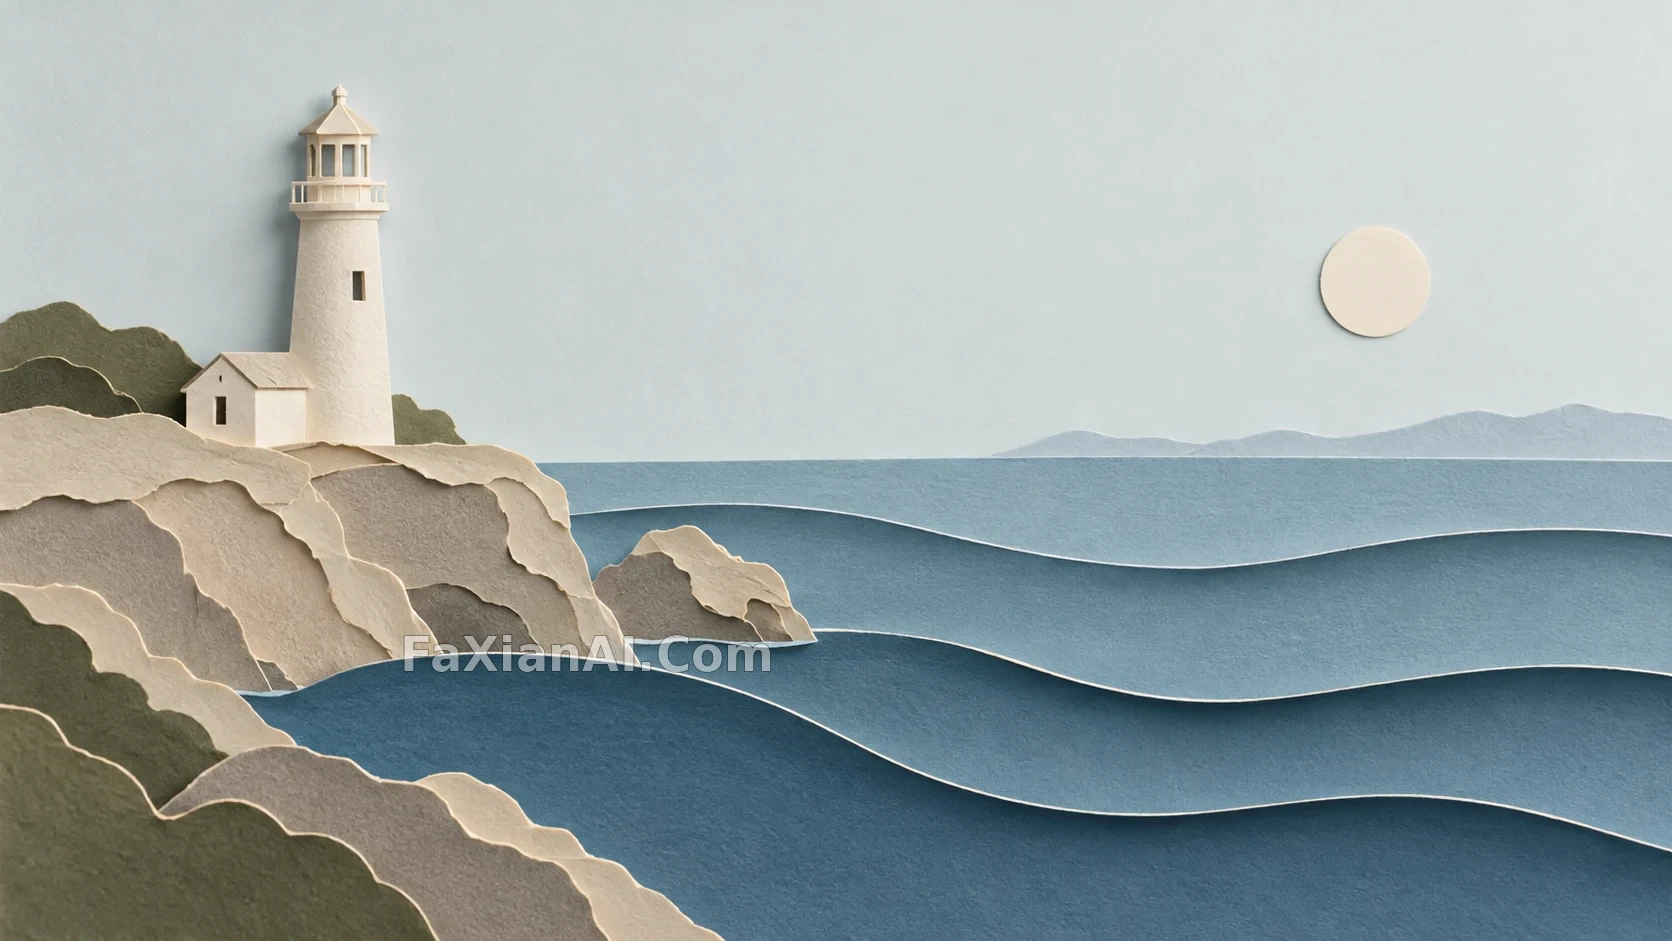
Layers of paper and curved waves form the lighthouse's shallow relief. Cream cut edges and short shadows identify physical paper. Specify layer order and shadow depth rather than merely asking for dimension. If thin paper develops stone-thick edges, reduce thickness and shadow strength.
Light and Layers in a Paper Lighthouse
Cyanotype: silhouette matters as much as blue
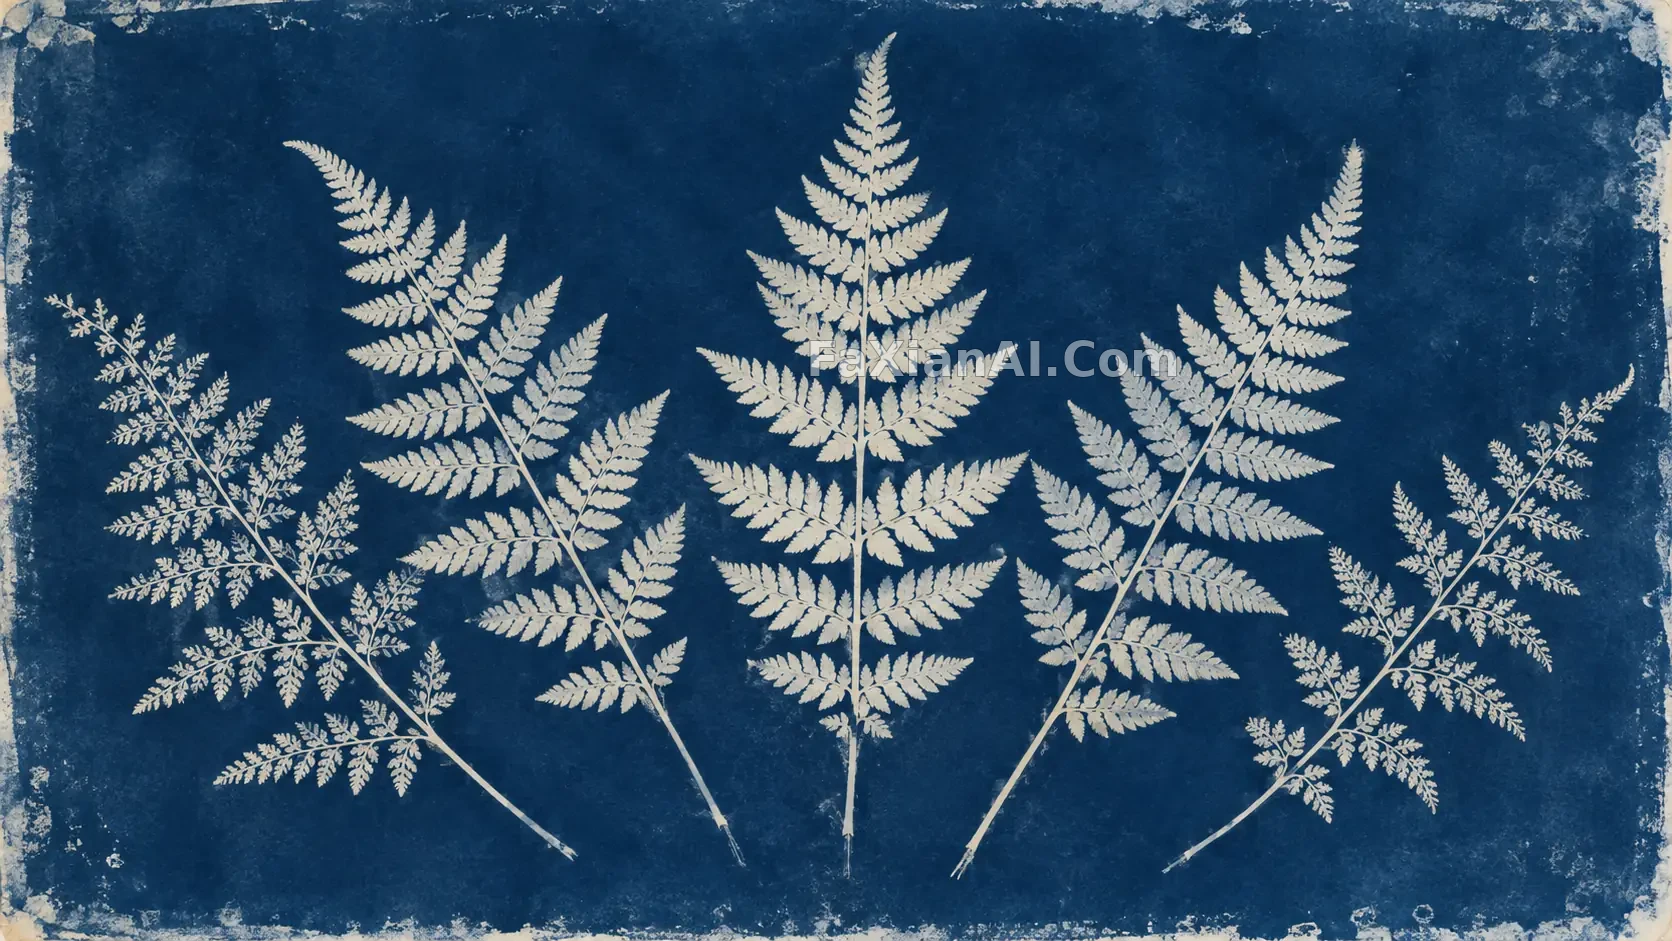
Five fern fronds fan out on Prussian blue. Complete small leaflets and slight chemical edge texture retain the process. Excessive stains obscure the botanical silhouette. Distinguish uneven dye from a damaged subject, especially when checking fern readability in a thumbnail.
Woodcut: carved lines carry form
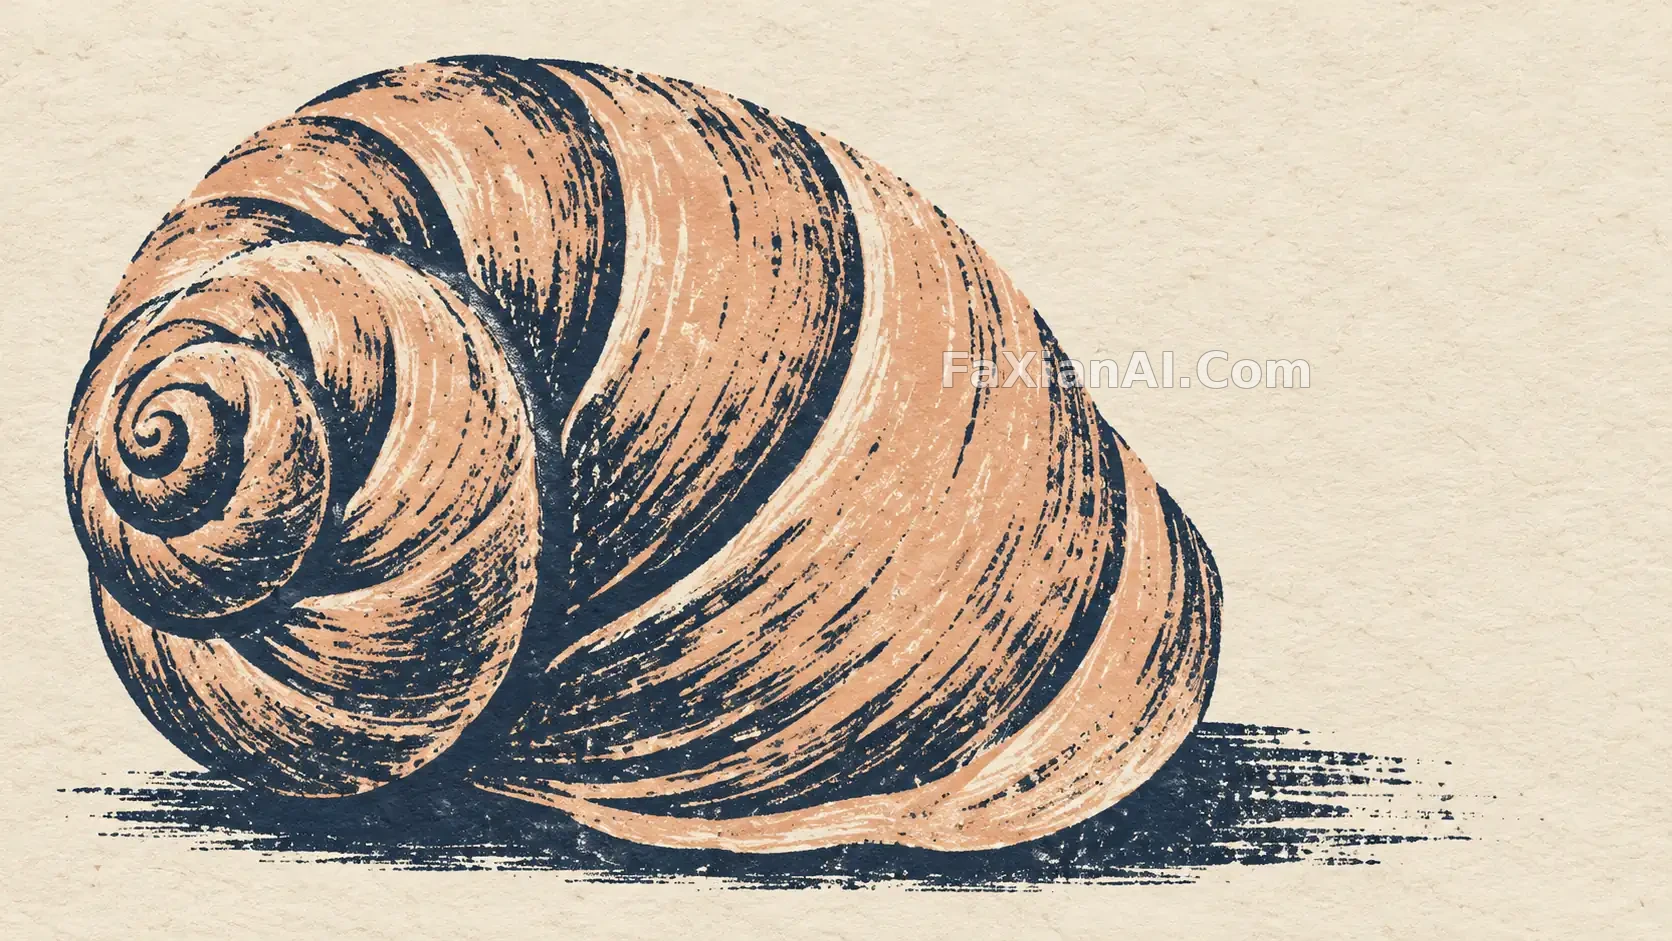
Bold grooves and two inks establish the shell's spiral without photographic reflections. Fibers and slight pressure differences support the print texture. Simultaneously demanding a mirrorlike shell and coarse carved lines can conflict. Decide whether the result is a print or a shell product photograph first.
Compare processes, not only colors
Fix one shell silhouette, generate a woodcut, then switch to cut-paper collage. Keep carved grooves and ink pressure for the print; use cut edges and layer shadows for the collage, with composition otherwise stable. Enlarge outlines, open areas and fibers to ensure blurred noise is not posing as detail. A generated image can simulate a process but cannot prove actual hand manufacture.
Browse paper relief themes and illustration cases, and the earlier article on structure and light.